The first step in building the fuselage is to remove the peelply from the molded fuselage skins:
Then the side skins are trimmed trimmed to fit. This process removes the rough edge left from the molding process.
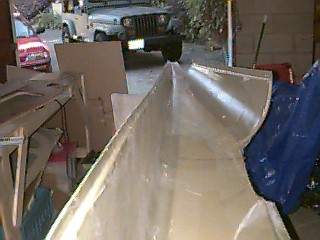
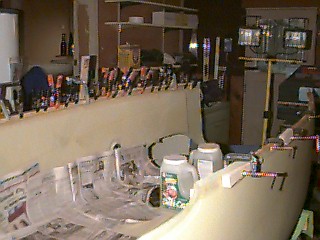
Once all trimmed up, the sides are joined with flox and pop rivets. The pop rivets are used to old pressure on the joggle while the flox sets up, they are drilled out later.
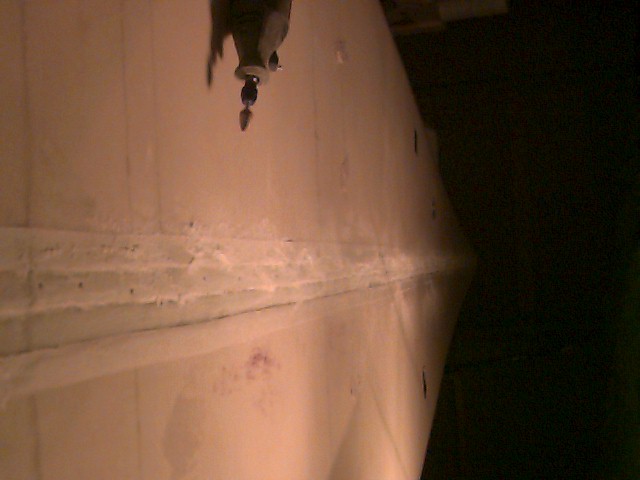
Now the aforementioned rivets are drilled out, and the joints are sanded to provide a good bond to the 10oz BID tapes.
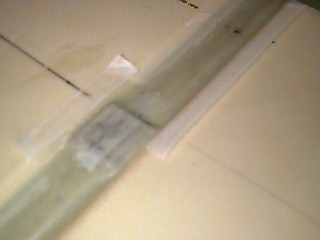
Tapes are applied on the inside and outside of the joggle. In this picture you can see where the tapes are applied over the aluminum plate which is installed for the quickdrain. In general, when applying fiberglass tapes it is good to use masking tape to keep areas you won't be bonding clean. After the tapes are applied an squeegied, you remove the masking tape.
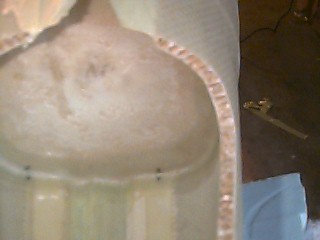
After the fuselage sides are joined, the aft bulkhead is installed with 10oz BID tapes.
After the sides are joined, then the longerons are fabricated. The longerons are glued in place as three ply of 3/4" x 1/4" wood strips. The plys are glued to each other and the fuse with a Safe-T-Poxy II/flox slurry. I really should have left the firewall attached while these longerons were setting up, but everything turned out okay. The molded in fuse shape was perfect.
After the wood plys have cured, then unidirectional and bidirectional fiberglass are applied over these cores. This is all done per plans.
Click here to return to the table of contents.